
Do your holiday plans call for air travel? Packing your own food can help with health safety during the pandemic (and keep you on track with your health and fitness goals, too). Flying with coolers raises many questions: Can you bring ice? Can you bring oil? Is protein powder OK?
Follow these three clean-eating-on-the-fly strategies to get your cooler through the TSA for domestic travel success!
First: Get the Right Equipment
Use this checklist to make sure you have what you need to avoid spoiled food.
Meal prep cooler: All coolers are not the same. Invest in a quality meal prep cooler as many are rated to keep food cold for 10-12 hours. Check to make sure it fits within your airline’s carry-on dimensions and plan to bring the cooler as one of your carry-ons.
Ice packs: Plan your ice source based on your trip duration. Surround any choice with freezer-proof zip locks and/or silicone zip-lock bags to prevent leakage onto your food should they burst with the air pressure change. If you cannot re-freeze before your return trip, put the zip-lock surrounded ice packs in your checked bag. Here are some options:
- Up to 8 hours: standard lunch-box ice packs, or ice cubes in a freezer-proof zip lock, or a Pack-it lunch bag (gel ice frozen into the cooler’s fabric)
- 8-10 hours: Cooler-specific meal-prep ice packs rated for 8-10 hours (often purchased from the same company as your meal prep cooler)
- 10-16 hours: Camping ice, such as Yeti. This ice freezes to colder temperatures than the other options. The longer-use duration has a trade-off as these packs are heavy (2.5 lbs per ice pack).
Extra freezer-proof zip locks: If your plans call for keeping food in the cooler for more than 12 hours, bring additional zip locks. Use the zip locks to obtain fresh ice from the local coffee shop, gas station, or hotel.
Refrigerator thermometer: If your destination plans call for using a mini-fridge, bring a thermometer. You’ll need to check to make sure the fridge consistently stays under 38 degrees. If it doesn’t, keep your food in the cooler at a two-ice-to-one-food ratio (meaning there should be twice as much ice as food) and change the ice every 8-10 hours.
Plastic utensils: Avoid touching your food, as germs from your hands will end up in your mouth, often leading to illness. Instead, use utensils for each meal; throw them away after you use them.
Mini grill or other heating device: If your food calls for re-heating, check to see if your destination offers a microwave. If not, consider putting a mini-grill (wrapped in towels or bubble wrap) in your checked luggage.
Wheeled luggage carrier: Iced coolers are heavy. While carrying one around work or your home may be easy, carrying it airport distances can injure your back, shoulders, or nerves in your arms and hands. Don’t tough it out. Instead, buy a wheeled collapsible carrier to help prevent injury.
Arrive 15 minutes early: The TSA will flag and inspect coolers and powders. Arrive early to allow time for the process. Save yourself time by selecting the K-9 (dog) inspected line if offered the option.

Second: Select Foods That Travel Well
Think in food groups and make selections that travel well. Avoid foods that:
- Require you to peel them with your hands (i.e., oranges)
- Change textures (i.e., cooked veggies, washed berries, eggs)
- Become smelly (i.e., sardines, cooked fish)
- Are surrounded by a can (i.e., canned chicken, canned veggies)
- Are gel or liquid > 3 oz (i.e., cottage cheese, yogurt, a jar of peanut butter, liquid protein shakes)
Instead, consider foods like the ones below, which travel well:

Third: Pack with Strategy
- Consider the physical packing space for each food. Dry food should stay out of the cooler. Foods normally found in a refrigerator or freezer stay in the cooler.
- The ice-to-food ratio should be 2:1, meaning there should be twice as much ice as food. Layer the food and ice like lasagna, finishing with ice on top. If space is a limiting factor, place the food in zip locks and squish the air out instead of using more space-consuming meal prep containers.
- If you have air space in the top of the cooler, stuff it with a towel. Air space melts ice fast.
- Pack grab ‘n’ go style: do one meal per zip lock, with meals you will consume sooner toward the top of the cooler.
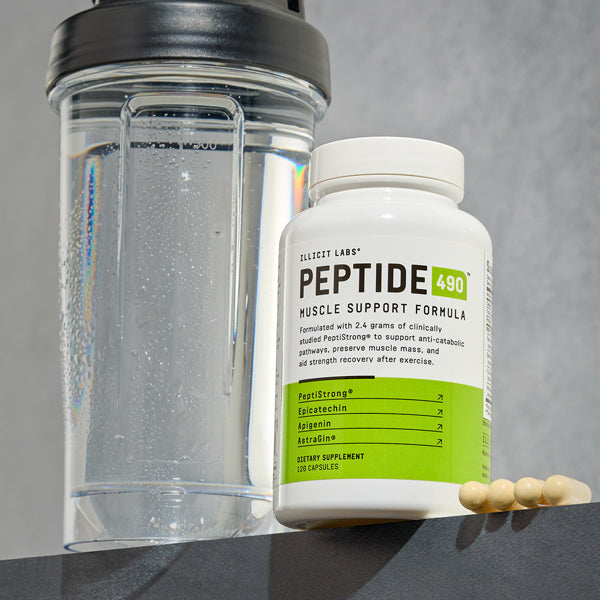
- If you are traveling with protein powders, pack one serving per mini zip lock, or use individual packets.
- If you are traveling with vitamins, keep them in their original labeled packages.
There you have it. Follow the above three steps for clean-eating-on-the-fly travel success and health this holiday season.
----------------
About the Author: Dr. Meredith Butulis is a Sports Medicine Physical Therapist, NSCA Certified Strength and Conditioning Coach, ACSM Certified Exercise Physiologist, NASM Certified Personal Trainer, and Precision Nutrition Certified Nutrition Coach in practice since 2002. She consistently walks the talk as a fitness, physique, and OCR world level competitor and lifestyle transformer since 2006, celebrating many wins along the way. Want more total fitness lifestyle inspiration and interaction? Follow Dr. Meredith on Instagram @Dr.MeredithButulis or join the free “Fitness Focus Fuel” Facebook Group.